31Jul 2025
table of contents
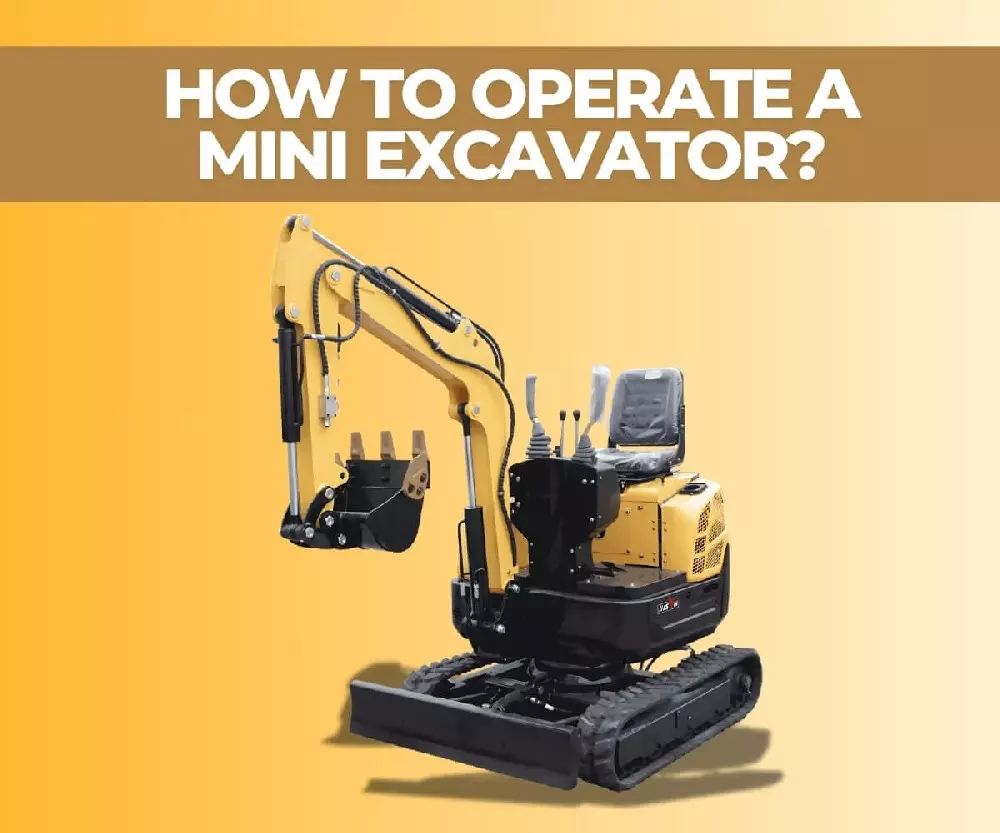
Imagine tackling a backyard project — maybe digging a trench for a garden bed or clearing space for a new shed. Doing it by hand can be exhausting and time-consuming. That's where a mini excavator comes in. Compact yet powerful, a mini excavator handles jobs too big for a shovel but too small for a full-sized machine. This versatile equipment is perfect for residential and light commercial tasks.
However, safe and proper operation is essential. Knowing the correct steps helps you work efficiently and reduces the risk of accidents. In this article, you'll learn how to safely and effectively use a mini excavator — from setup to operation — plus practical tips to get the most from your machine.
A mini excavator, also known as a compact excavator, designed for tasks such as digging, lifting, grading, and light demolition. Unlike their larger counterparts, mini excavators are ideal for working in tight or confined spaces, making them a popular choice for residential construction, landscaping projects, and urban job sites.
Their weight typically ranges from a few thousand pounds up to about ten tons, depending on the model and specifications.Key differences between models include lifting capacity, digging reach, and suitability for different working conditions. Selecting the right mini excavator depends on the specific requirements of your project.
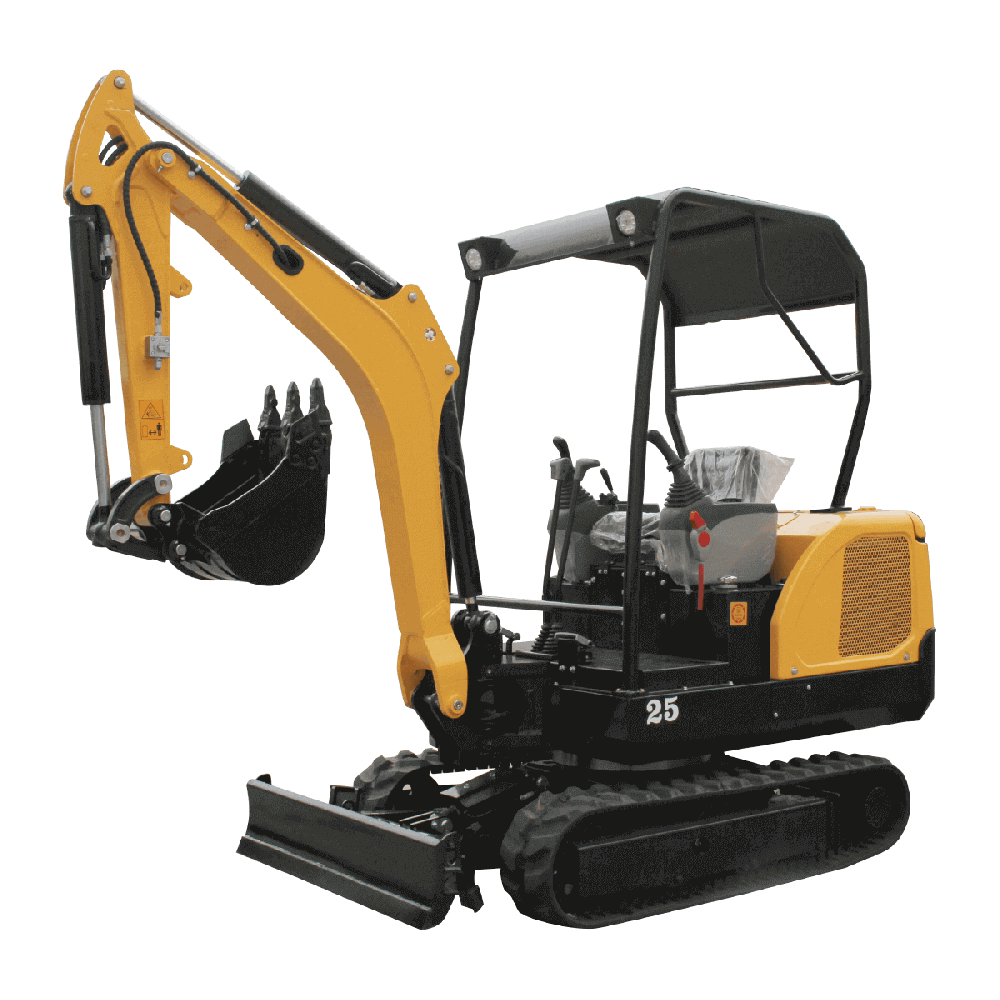
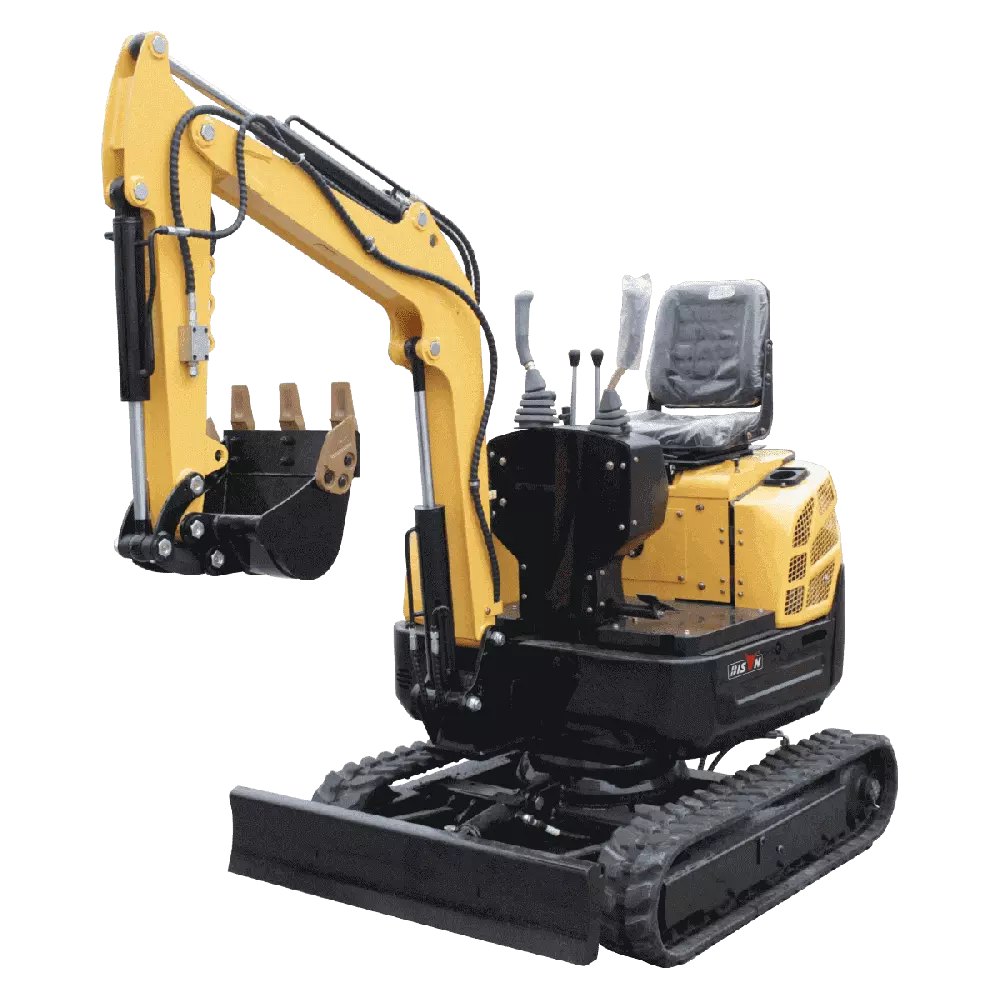
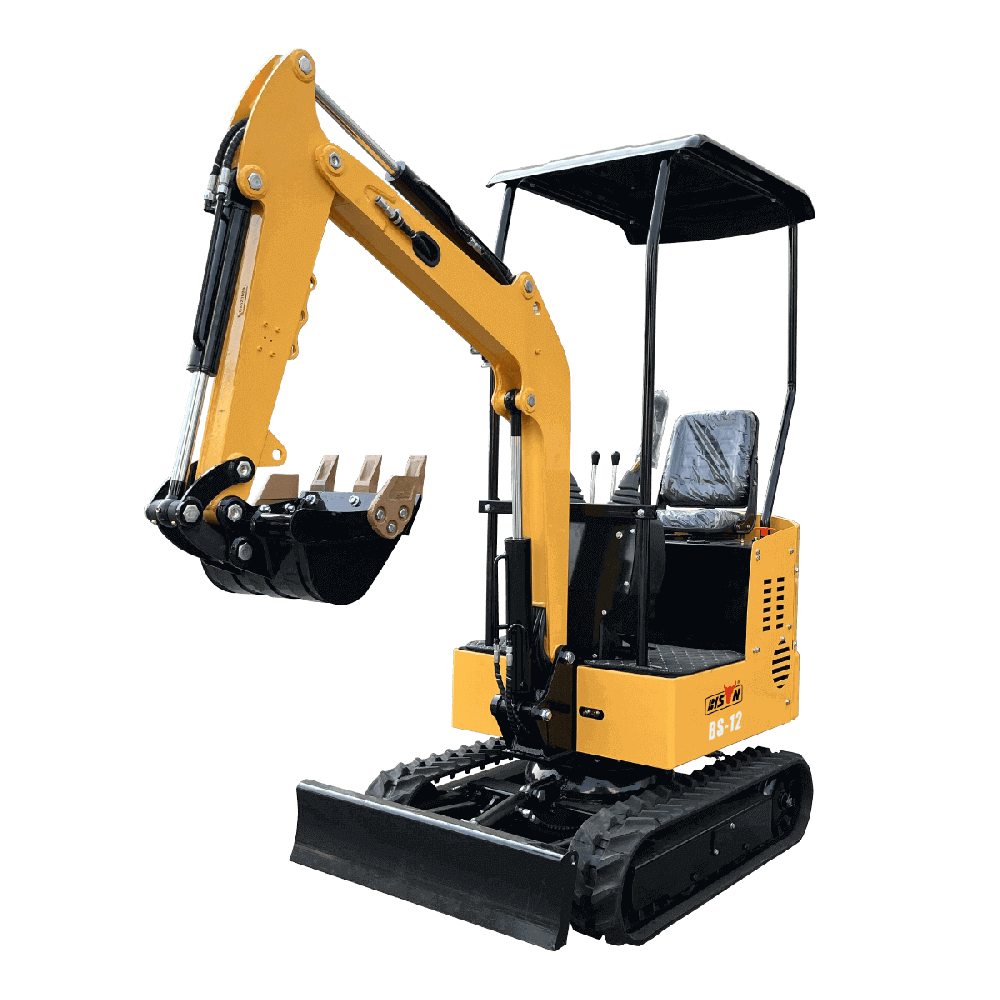
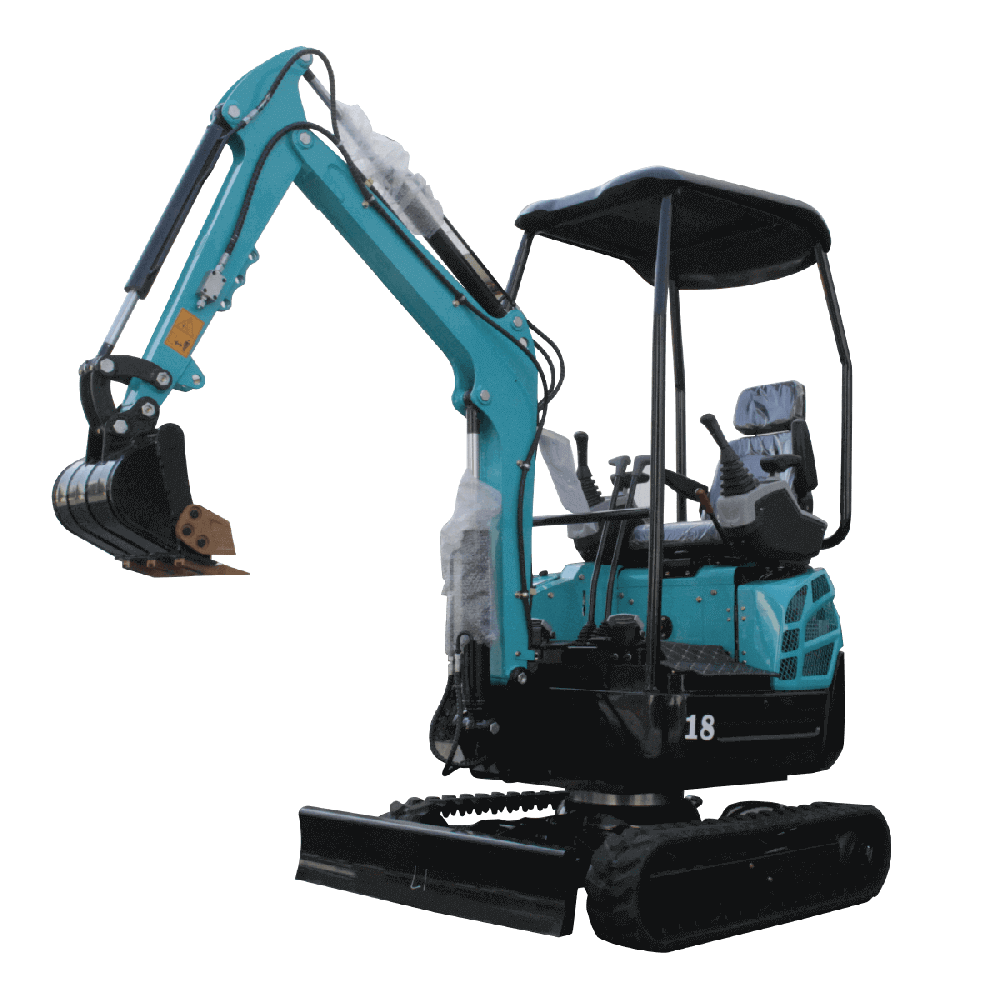
A mini excavator is made up of several essential components, each serving a specific purpose to ensure safe and efficient operation. Understanding these parts helps operators use the machine to its full potential.
Engine: The engine is the powerhouse of the mini excavator. Typically a compact diesel engine, it generates the horsepower needed to drive the tracks, run the hydraulic system, and power attachments. Though smaller than those in full-sized excavators, these engines are designed to deliver enough force for a wide range of digging and lifting tasks.
Undercarriage: The undercarriage consists of either tracks or wheels, along with the supporting frame. Tracked undercarriages provide excellent stability and traction on soft, uneven, or rough terrain, preventing the machine from sinking or slipping. Wheeled undercarriages, on the other hand, are ideal for smooth, hard surfaces like roads or paved job sites, offering better speed and maneuverability on flat ground.
Boom: The boom is the primary arm extending from the body of the excavator. It enables lifting, lowering, and moving materials by pivoting at various angles, allowing for greater reach and flexibility during digging, loading, or dumping.
Arm: Attached to the boom, the arm provides the extension and retraction needed to position the bucket or other attachments precisely. Powered by the hydraulic system, the arm delivers the digging force and reach required for trenching or lifting tasks.
Bucket: The bucket is the most common attachment and is fixed to the end of the arm. It is used for scooping, digging, and carrying materials like soil, rocks, and debris. Buckets come in different shapes and sizes to suit various tasks — from trenching to grading.
Cab: The cab is where the operator controls the machine. It's usually enclosed for safety and comfort, equipped with joysticks, pedals, and visibility features to manage the boom, arm, and attachments. Modern cabs often include climate control and adjustable seating for operator comfort during long hours of work.
Hydraulic system: The hydraulic system is vital for powering the boom, arm, bucket, and any additional attachments. Pressurized hydraulic fluid allows for smooth, precise, and powerful movements, enabling the mini excavator to perform heavy-duty tasks despite its small size.
Mini excavators generally fall into two categories: tracked and wheeled.
Tracked mini excavators: The most common type, tracked excavators use rubber or steel tracks to navigate soft, muddy, or uneven ground with stability. They're ideal for landscaping, excavation, and construction projects on challenging terrain.
Wheeled mini excavators: Equipped with tires instead of tracks, wheeled models excel on hard, flat surfaces like asphalt or concrete. They can travel faster between job sites and are well-suited for urban projects that require frequent movement on paved roads.
One of the reasons mini excavators are so versatile is the wide range of attachments they can use:
Breakers: Hydraulic breakers (also called hammers) are used for demolition, breaking through concrete, asphalt, or other hard surfaces. They're essential for construction jobs that involve tearing down old structures or pavement.
Augers: Augers are used for drilling holes in the ground, perfect for tasks like planting trees, installing fence posts, or setting up signposts. They come in various diameters to match the size of the hole needed.
Together, these parts and attachments make the mini excavator a compact yet powerful tool that can tackle a wide variety of residential and commercial projects efficiently and safely.
Before operating a mini excavator, it's essential to perform thorough safety checks to confirm that the machine is in good working order. These inspections protect both the equipment and everyone on the job site. Here's a simple step-by-step guide to follow:
Start by doing a full walkaround to spot any visible issues:
Check for leaks: Look for fluid leaks under and around the machine, such as hydraulic fluid, engine oil, or coolant. Any leaks should be fixed before use to avoid breakdowns or hazards.
Inspect for damage: Examine major parts like the boom, arm, and bucket for cracks, dents, or loose bolts that could affect safe operation.
Check tracks and bucket teeth: If your excavator uses tracks, look for wear or damage that could reduce traction or stability. Inspect the bucket teeth for excessive wear or damage, as worn teeth can make digging harder and less efficient.
Next, verify that all vital fluids are at the recommended levels:
Engine oil: Use the dipstick to check the oil level. Low oil can cause overheating or engine damage. Top up if needed with the correct oil type specified in the manual.
Hydraulic fluid: Check the hydraulic fluid reservoir to ensure it's full. Low hydraulic fluid can cause slow or jerky arm and bucket movement.
Coolant: Make sure the coolant is at the proper level to prevent the engine from overheating. Always check coolant when the engine is cool to avoid burns.
Before starting work, ensure the cab is set up correctly:
Adjust the seat: Sit down and adjust the seat so you can comfortably reach the pedals and controls, with a clear view of the work area.
Test the controls: Move the joysticks and pedals to ensure they operate smoothly without sticking. Test all functions of the boom, arm, and bucket to verify the hydraulic response.
Check the seatbelt: Always wear a seatbelt when operating. Inspect it for frays or damage, and confirm it latches securely.
Locate the emergency shut-off: Know where the emergency shut-off switch is and make sure it's easily accessible and in working condition in case you need to stop the engine quickly.
By performing these checks before every use, you ensure safe operation, reduce the risk of accidents, and help extend the life of your mini excavator. Consistent inspections and maintenance keep your projects running smoothly and safely.
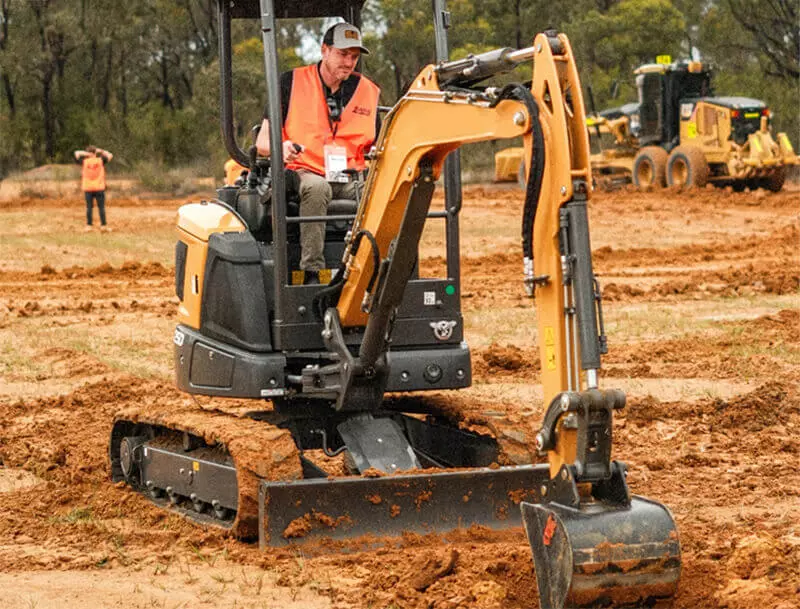
Operating a mini excavator may seem challenging at first, but with proper steps and practice, it becomes straightforward and safe. This guide covers the basics — from starting the machine to performing common tasks.
Sit in the cab, adjust your seat, fasten your seatbelt, and ensure all controls are within easy reach.
Insert the key and turn it to the "on" position to start the engine.
Let the engine idle for a few minutes so the hydraulics and engine warm up properly.
Joysticks
Left joystick: Controls the boom (up/down) and cab rotation (left/right).
Right joystick: Controls the arm (extend/retract) and bucket (open/close).
Pedals
Operate the tracks for driving. Left pedal for left track, right pedal for right track.
Press both forward to move forward, backward to reverse, or one more than the other to turn.
Use both pedals to move straight.
To turn, apply more pressure to one pedal.
Practice driving in an open area to get used to steering and stopping.
Rotate the cab using the left joystick. Move it left or right to turn the cab in that direction.
Cab rotation allows you to dig or dump material without repositioning the entire machine.
Boom: Move the left joystick forward/back to lower or lift the boom.
Arm: Move the right joystick forward/back to extend or retract the arm.
Bucket: Move the right joystick side-to-side to open or close the bucket.
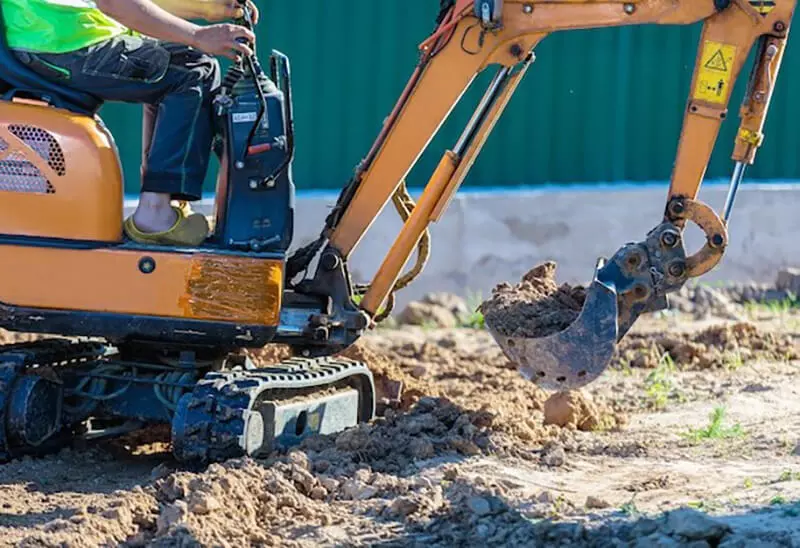
Digging: Lower the boom, extend the arm, open the bucket, push into the soil, then pull back to scoop. Lift the boom to move the material.
Lifting: Use the same boom and arm motions to lift loads safely.
Leveling: Use the bucket to push or spread material evenly. Control movements slowly for precise grading.
Always turn off the machine before changing attachments.
Use the quick coupler to release the current attachment.
Align and secure the new attachment; reconnect hydraulic lines and check the lock.
Hydraulic Hammer: Used for demolition. Position it over the work area and activate with the controls.
Grapple: For grabbing logs or debris. Operate it like a bucket but use it to grasp objects securely.
Learning to operate a mini excavator takes patience and practice. Always follow safety checks, use controls gently, and get familiar with the machine in a clear, open space before tackling real tasks.
Operating a mini excavator efficiently involves more than just basic controls — mastering advanced skills can greatly boost your productivity and safety on complex jobs.
To achieve precise depths and smooth surfaces:
Move the boom, arm, and bucket slowly and steadily instead of making abrupt motions.
Use the bucket teeth to gradually break up soil before scooping.
For trenches or foundations, check depth frequently to avoid over-digging.
When grading, make fine hydraulic adjustments and use small bucket movements to create a consistent slope or level area.
Mini excavators are ideal for tight areas, but extra caution is required:
Always be aware of the cab's swing radius to avoid hitting nearby structures or people.
Keep the boom closer to the machine body to reduce your working footprint.
Align the tracks straight and move slowly for maximum stability and control.
Plan your path in advance to minimize unnecessary repositioning in tight spots.
Good balance is key for safe operation:
Operate on flat, stable ground whenever possible.
Avoid swinging heavy loads too far out — keep loads close to the machine.
If you must work on a slope, face the excavator uphill and move slowly.
Be aware of attachment weight; don't exceed the machine's lift capacity.
Keep the boom and arm low when moving with a load to lower the center of gravity and prevent tipping.
Final tip
Practicing these advanced techniques will enhance your accuracy, efficiency, and confidence, while protecting both you and your mini excavator from unnecessary risk or damage.
Once you've completed your work with a mini excavator, it's essential to follow proper shutdown, cleaning, and maintenance procedures to ensure the machine remains in optimal condition for the next use. These steps not only prolong the life of the excavator but also help prevent potential issues down the road.
The first step after using the mini excavator is to properly shut it down and secure it to ensure safety and prevent damage.
Turn off the engine: Start by bringing the machine to a complete stop and setting the controls to their neutral positions. Turn off the engine by following the manufacturer's specific instructions, usually by turning the ignition key to the off position or using the engine's emergency shut-off switch if necessary.
Lower the boom and arm: Always lower the boom, arm, and bucket to the ground, leaving them in a stable position. This helps to distribute the machine's weight evenly and minimizes stress on the hydraulic system when not in use.
Set the parking brake: Ensure the parking brake is engaged to prevent the machine from moving unintentionally.
Lock the controls: If your mini excavator has lockable controls, make sure to secure them in place to prevent unauthorized use.
Turn off all lights and electrical systems: Switch off any lights, work lamps, or electrical accessories to conserve battery power and prevent unnecessary wear.
Cleaning the mini excavator after use helps maintain its performance and prevents dirt, mud, and debris from accumulating in critical parts.
Wash the exterior: Use a pressure washer or hose to clean the exterior of the mini excavator, paying particular attention to the tracks, undercarriage, and bucket. Remove any dirt, debris, or mud that may have accumulated during the workday.
Clean the radiator and cooling system: Check the radiator and cooling system for dirt and debris that could affect performance. Use compressed air or a soft brush to clean the fins of the radiator, allowing the engine to cool properly.
Inspect the tracks and undercarriage: Ensure that the tracks are free of dirt, mud, or vegetation that could cause the excavator to operate inefficiently. Regular cleaning of the undercarriage helps prevent wear on the tracks and other components.
Proper daily maintenance ensures the mini excavator remains in good working order and reduces the likelihood of breakdowns.
Grease key parts: Grease the pivot points, boom, arm, and bucket joints to reduce wear and keep moving parts operating smoothly. Use the recommended grease and follow the manufacturer's guidelines for frequency and amount.
Check or change filters: Inspect the air, fuel, and hydraulic filters. If the filters appear clogged or dirty, replace them according to the manufacturer's maintenance schedule. Dirty filters can cause the engine to run inefficiently and may lead to damage over time.
Inspect the battery: Check the battery for corrosion or leaks. Clean the terminals if needed and ensure the battery is charged and securely in place.
Tighten Loose Bolts or Fasteners: Over time, bolts and fasteners can loosen due to vibration. Inspect the machine's frame, tracks, and attachments, tightening any loose components to ensure everything is secure.
When storing the mini excavator for an extended period, take the following steps to keep it in good condition:
Park in a dry area: Store the mini excavator in a dry, secure location to prevent exposure to the elements, such as rain or excessive sunlight, which can lead to rust and damage.
Cover the machine: Use a tarp or machine cover to protect the excavator from dirt, dust, and debris. This is especially important if the machine will be stored outdoors.
Disconnect the battery: If the mini excavator will be stored for a long period, disconnect the battery to prevent it from draining.disconnect the battery to prevent it from draining.
Operating a mini excavator can be highly productive, but certain common mistakes can lead to accidents, equipment damage, or unnecessary downtime. Knowing what to avoid helps keep your work safe and your machine in top condition.
Mini excavators are built with specific weight limits. Exceeding these can cause serious problems:
Risk of tipping: Lifting too much weight, especially with an unbalanced load, makes the machine unstable — increasing the chance of tipping, particularly on uneven ground.
Hydraulic system damage: Overloading puts extra strain on the hydraulic system, which can cause leaks, damaged seals, or even system failure.
Reduced maneuverability: An overloaded machine is harder to control and may lose traction or operate sluggishly, especially on slopes or soft ground.
Tip: Always check the machine's rated limits in the operator's manual and never exceed them.
Neglecting routine maintenance is a frequent mistake that shortens machine life and reduces performance. Daily checks, timely filter changes, proper lubrication, and cleaning prevent breakdowns and costly repairs.
Tip: Follow the maintenance schedule in the operator's manual and address any issues immediately.
Attachments make a mini excavator versatile — but misuse can damage both the attachment and the machine:
Wrong attachment for the job: Using the incorrect bucket or tool can lead to poor performance and extra strain.
Improper handling: Overloading or misusing attachments (like using a breaker for precision work) increases wear and safety risks.
Compatibility issues: Not all attachments fit every excavator. Using the wrong match can damage the hydraulics or frame.
Tip: Always use the right attachment for the task, ensure compatibility, and follow handling guidelines.
Poor lifting habits can quickly compromise safety:
Lifting too high: Raising the boom or arm too high shifts the machine's center of gravity, risking tipping.
Uneven loads: Carrying loads that aren't balanced puts stress on hydraulics and makes the machine harder to control.
Tip: Keep loads low and centered. Lift slowly and avoid sudden movements.
Choose a mini excavator based on your project's digging depth, lifting needs, and working space. Larger machines handle heavier loads and deeper digging, while smaller ones fit tight areas and are easier to maneuver. Always consider the material weight, reach, and lifting capacity needed, and match these to the machine's specifications.
While basic controls can be learned quickly, it's strongly recommended to get proper training before operating a mini excavator. Training helps you understand safe operation, machine limits, and daily checks. Practice under supervision to build confidence and avoid accidents before handling jobs alone.
The lifting capacity depends on the model but generally ranges from 1,500 to 10,000 pounds. Always check the operator's manual for your specific machine's limits and never exceed them, as overloading can damage the equipment or cause it to tip over.
Being mindful of these common mistakes keeps your mini excavator operating safely, efficiently, and ready for every job.
In summary, operating a mini excavator safely and efficiently requires knowing its key parts, performing thorough safety checks, and using proper techniques during operation. Understanding components like the engine, hydraulic system, and attachments helps you get the most out of your machine. Routine checks—such as inspecting for leaks, monitoring fluid levels, and testing controls—are essential to prevent accidents and costly breakdowns. While working, use the correct attachments, handle loads properly, and always stay within the machine's rated limits. Consistent cleaning, greasing, and tightening ensure your mini excavator stays in top condition for years to come.
Above all, make safety your top priority. Following best practices not only protects you and your team but also extends the life of your equipment. If you're ready to choose a reliable mini excavator or need more expert advice, connect with reputable BISON mini excavator manufacturer today and keep your projects running safely and smoothly.
inquiry form here
BISON BLOG, All the latest news and views from Bison Machinery.
what's hot?
Related Articles
mini excavator sizes: choosing the right size for your project how to change the bucket of a mini excavator large excavators vs mini excavators what equipment do you use for demolition? common questions about excavator hydraulic systemsRelated Products