16Apr 2026
table of contents
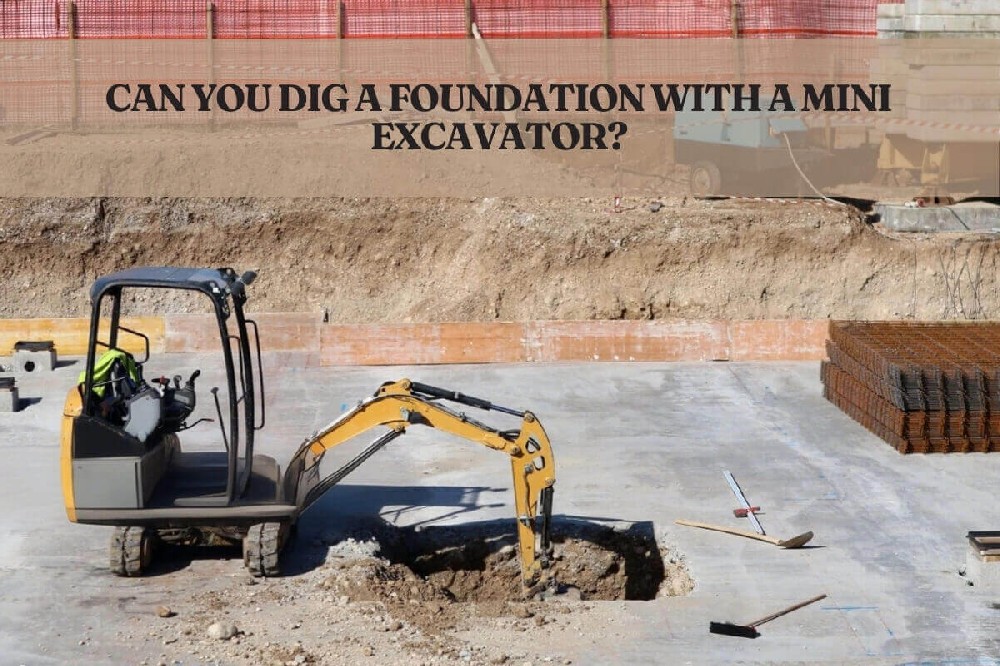
Mini excavators offer foundation contractors a compact, hydraulically powerful solution, are small size yet powerful machines used for excavation, landscaping, and construction work. Their versatility makes them ideal for digging foundations, can access confined job sites while delivering digging depth and precision that full-size machines cannot match in tight conditions.
Using a mini excavator can save time, reduce manual labor, and improve accuracy, but it is essential to understand its capabilities, proper techniques, and safety precautions. This BISON guide provides the technical grounding to match machine size to your specific foundation scope and execute the dig safely.
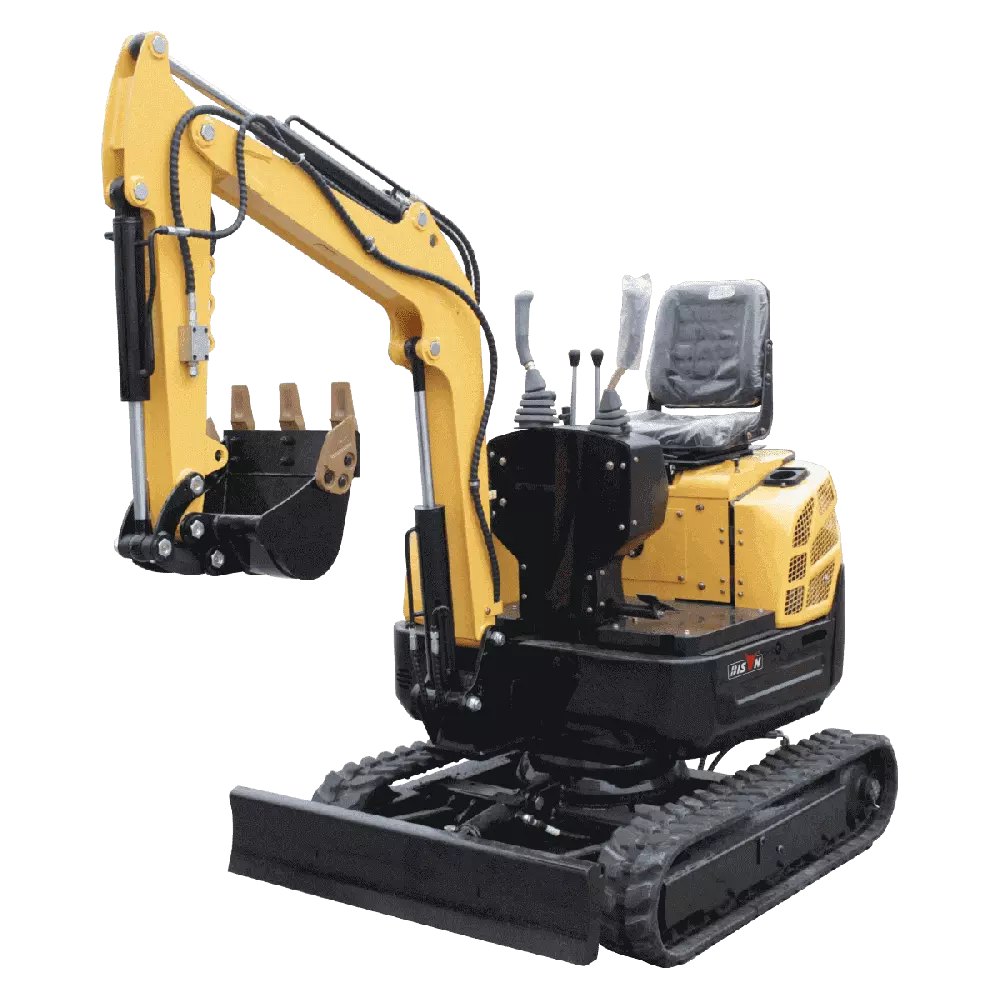
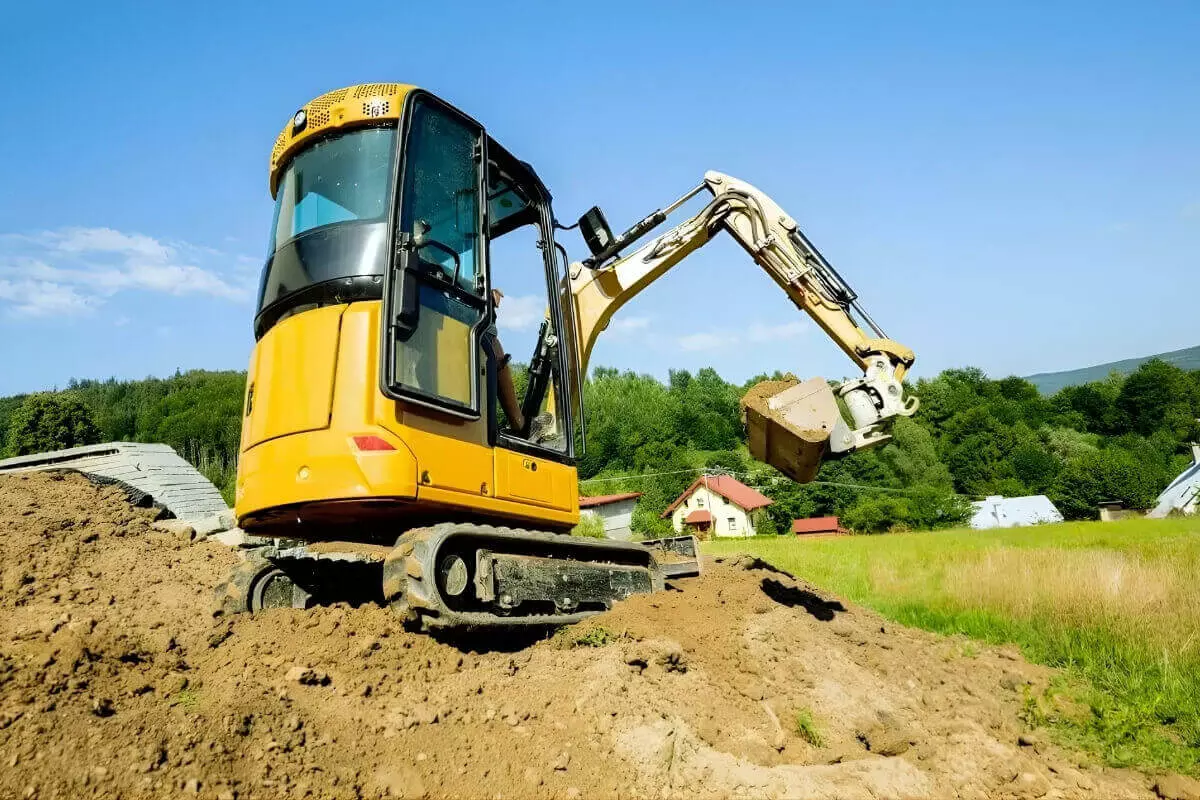
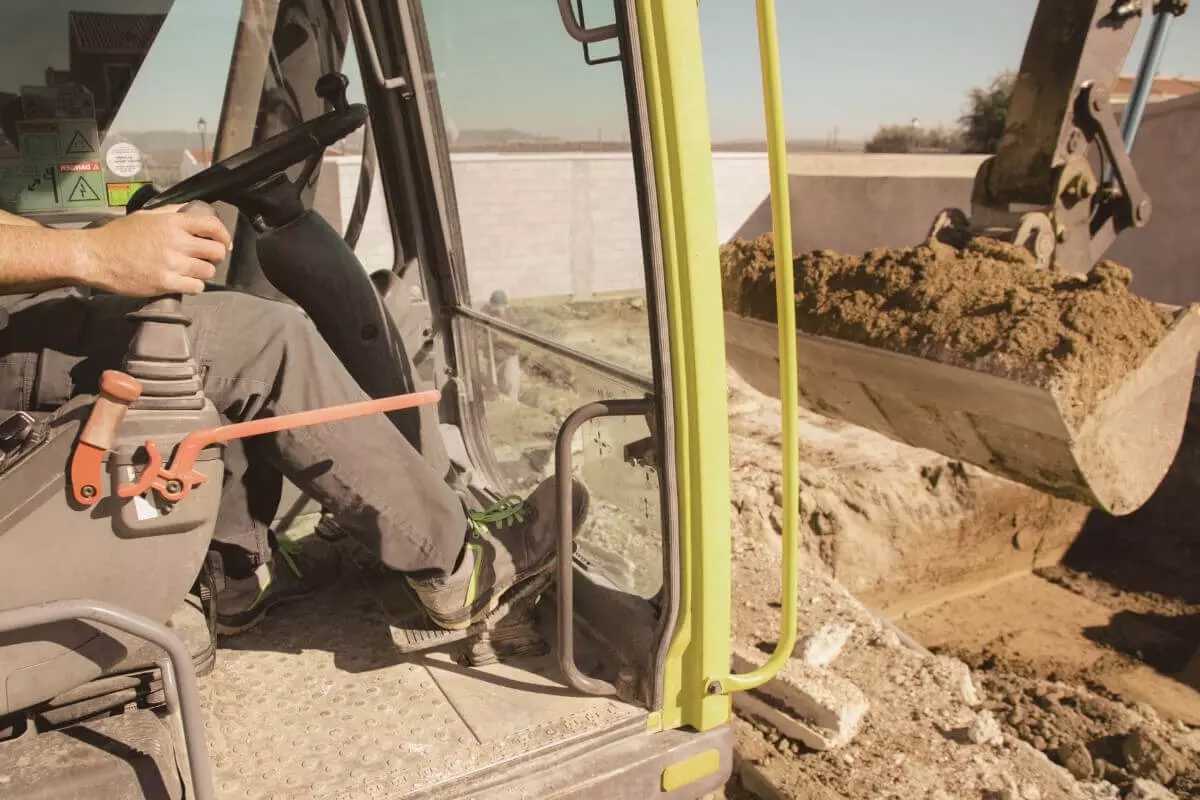
Mini excavators range from 1 to 10 tons, with 1-ton units fitting through garden gates and 10-ton machines handling basement digs. Most foundation projects use the 3- to 6-ton range to balance digging depth with transportability. Core architecture includes a boom and arm for depth, application-specific buckets, and rubber or steel tracks for stability. Operators control these systems via hydraulic joysticks within a cab or canopy.
Mini excavators offer many advantages for foundation projects, making them a preferred choice for contractors and DIY enthusiasts.
Compact size for tight spaces: Mini excavators can access confined areas such as residential yards or narrow construction sites. Their small footprint and minimal tail swing allow precise excavation without damaging surrounding structures, enabling operators to pivot in tight lots and reach dig zones efficiently.
Precision and control: Equipped with articulated arms and small buckets, mini excavators dig to the required depth and width with accuracy, reducing errors and ensuring foundations conform to building plans. Precision digging minimizes over-excavation, lowering the volume of concrete required and overall material costs.
Cost-effective operation: Mini excavators use less fuel than full-size machines and reduce manual labor, saving time and money on small- to medium-sized foundation projects. Smaller units can often be towed without oversize permits or pilot vehicles, further reducing mobilization costs.
Versatility with attachments: These machines accommodate a variety of buckets and tools, allowing them to handle different soil types and excavation tasks, including trenching, grading, and general excavation.
Faster project completion: Compared to manual excavation, mini excavators significantly speed up the process, helping projects stay on schedule.
Reduced ground impact: Rubber tracks distribute weight evenly, reducing ground pressure, protecting lawns from rutting, and preventing damage to shallow utility lines on established properties.
Before digging a foundation, it is essential to assess the site. Understanding the terrain, soil type, and other factors ensures a mini excavator can operate safely and effectively, helping prevent delays and costly mistakes.
Assessing soil type: Different soils behave differently during excavation. Sandy loam and loose fill allow fast digging but may collapse beyond four feet. Silt and soft clay hold shape better. Standard 3- to 5-ton mini excavators handle these soils reliably without specialty attachments.
Challenging soils include:
Heavy clay: Sticky material increases digging force and fuel use.
Gravel/cobble: Accelerates wear on teeth and pins; use durable attachments.
Rock/bedrock: Requires a hydraulic breaker for thin layers; standard buckets cannot fracture solid rock.
Frozen ground: Needs thawing or breakers to avoid damage.
Boulders: Units under 4 tons cannot lift large boulders.
Excavate in layers, bank trench sides, or break rocks into manageable pieces to maintain stability and protect the machine.
Checking slope and terrain: Rough or sloped terrain affects stability. Mini excavators can work on gentle slopes, but steep or unstable ground requires additional safety measures, such as leveling, using stabilizers, digging in layers, and avoiding overextending the arm.
Identifying obstacles: Clear debris, rocks, roots, trees, or rubbish before digging. Removing obstructions ensures smooth excavation, prevents equipment damage, and maintains accuracy.
Measuring access and space: Even compact mini excavators need room to maneuver. Assess access roads, turning areas, and the overall site layout. Plan digging sequences and move the machine strategically to avoid damage to the equipment or nearby structures.
Locating underground utilities: Check for water pipes, gas lines, electrical cables, or sewer connections. Contact local utility companies for inspection if necessary. Clearly mark all underground utilities to prevent accidents and costly delays.
Marking the foundation layout: Use stakes, string lines, or spray paint to define the foundation boundaries. Batter boards and string lines provide reference points, and marking the dig outline ensures orderly excavation aligned with building plans.
Mini excavators reliably handle strip footings, pad foundations, crawl space digs, and shallow basement excavations up to roughly 12 feet. They are ideal for projects with tight clearances but are less effective for deep full-basement or large commercial foundations.
Strip foundations/frost walls: Routine for 3- to 5-ton machines (18–24" wide, 36–48" deep).
Slab-on-grade: Stripping topsoil and leveling pads with a grading bucket.
Crawl spaces: Suitable for tight clearances and retrofit projects.
Shallow basements: Mid-size units handle depths up to 10 feet in favorable soil.
Pier/post-hole: Auger attachments drill multiple holes efficiently.
Additions: Compact frames operate adjacent to existing structures.
Deep or heavy excavations: Cycle times slow in rocky or heavy clay soil, reducing efficiency.
Solid rock: Mini excavators cannot fracture continuous bedrock; larger machinery or blasting is needed.
Large commercial footprints: Moving high spoil volumes with compact buckets is not cost-effective.
Restricted access: Interior courtyards may require hand or vacuum excavation if access is too narrow.
Full-scale basements: Excavations over 9 feet deep across a full footprint create bottlenecks; pairing with larger machines may be necessary for efficiency.
Selecting the right mini excavator is essential for effective foundation excavation. The machine must match the project size, soil conditions, and site constraints to ensure safe and accurate digging. Choosing appropriate attachments further enhances efficiency and versatility.
Determining size and weight: Mini excavators range from 1 to 10 tons, with different sizes suited to specific foundation tasks:
1–2 ton: Ideal for shallow footings and pier holes (up to 6-foot depth).
3–5 ton: Handles strip foundations, crawl spaces, and continuous trench footings (10–12-foot dig depth). This range supports most residential foundation needs.
6–10 ton: Manages basement foundations at full excavation depths (14–16-foot dig depth). Upper-end units can remove 150–200 cubic yards for a 1,500-square-foot home in one to two days.
To size a machine, calculate cubic yardage by multiplying footprint by depth, then add 20–30 percent for soil swell.
Choosing the right bucket: Standard digging buckets work well for normal soil. Trenching buckets provide precise edges, and reinforced or rock buckets handle rocky or compacted soils to prevent damage and maintain productivity.
Assessing reach and arm length: Arm length determines how far the machine can dig without repositioning. Extended reach is useful for long foundations or uneven terrain, reducing movement and saving time.
Considering track type:
Rubber tracks: Ideal for delicate surfaces like driveways or lawns, minimizing damage.
Steel tracks: Provide stability and traction on rough or uneven terrain, suitable for demanding locations.
Checking hydraulic power and performance: Adequate hydraulic flow ensures smooth operation and efficient digging. Machines with higher hydraulic power can handle larger buckets and attachments, improving digging speed and accuracy.
Key specifications to evaluate
| Specification | Guidance |
| Dig depth capacity | Match the machine's maximum depth to your requirement plus one foot of margin. Operating at the limit reduces breakout force and slows cycle times. |
| Bucket and arm force | A 2-ton unit with 4,000–5,000 lbf breakout force handles loam, while compacted soil may require 8,000+ lbf. Force output drops when the arm extends near maximum reach, so work within 75–80 percent of full extension. |
| Dump height and reach | Ensure the machine can clear truck beds to avoid double-handling spoils. |
| Ground pressure | Wider tracks reduce pressure to 4–5 PSI on soft surfaces, while narrow tracks concentrate force on saturated soil. |
| Transport weight | Verify the machine and trailer stay within the vehicle's gross combined weight rating. Units over 8 tons require specific axle and brake configurations. |
Attachments that expand capability
Hydraulic thumb: Grips rocks, roots, and debris.
Auger: Drills pier and caisson foundations.
Ripper tooth: Breaks compacted clay or weathered rock.
Always match attachment hydraulic requirements to the machine's flow and pressure ratings to prevent damage to hydraulic cylinders.
Digging a foundation with a mini excavator follows a repeatable sequence: site survey and utility marking, machine positioning, systematic bench cutting, spoil management, and final grade verification before forming crews arrive.
Tooth bucket: Breaks through compacted soil and roots.
Grading bucket: Flat bottom for final shaping and leveling.
Position the machine on a firm bench adjacent to the dig. Choose the side allowing the longest reach to minimize movement and risk.
Start at the furthest point and work toward the exit. Remove material in 12- to 18-inch lifts to maintain grade control and prevent undercutting. Slow down at corners to reduce manual hand-trimming.
Place spoils 3–4 feet from the excavation edge to prevent cave-ins. Separate topsoil from subsoil for backfill and stage spoils where trucks can load without driving over the excavation.
Use a laser level and grade rod to check elevation. Verify grade after every major pass with the grading bucket to avoid costly over-excavation.
Accurate, safe, and efficient foundation excavation depends on using the right techniques. Proper use of a mini excavator saves time, prevents errors, and reduces machine wear.
Layered excavation approach: Remove soil in layers rather than excavating the full depth at once. This reduces stress on the machine, improves control, and maintains consistent foundation depth.
Maintaining correct depth and slope: Use a laser level or string lines to monitor depth and slope. Correct slope prevents water pooling and foundation instability, ensuring poured concrete aligns with design specifications.
Efficient bucket handling: Operate the bucket with smooth, controlled movements. Avoid overloading, which stresses hydraulics and reduces accuracy. Position the excavator to minimize arm extension and maximize digging efficiency for large soil volumes.
Adjusting techniques for soil type: Handle soils according to their characteristics. Clean sticky soil from the bucket frequently. Provide temporary support for sandy soils to prevent collapse. For rocky soils, use smaller bucket loads or break rocks into manageable pieces.
Strategic machine repositioning: Plan the excavation layout to minimize unnecessary movement. Carefully reposition the excavator to continue digging without disturbing previously excavated areas, reducing soil mixing and improving workflow.
Even with a mini excavator, foundation digging can present challenges. Understanding these issues and addressing them keeps the project safe, efficient, and on schedule.
Weather conditions: Rain or excessive moisture makes soil slippery and unstable. Postpone excavation during heavy rain or use temporary drainage solutions. Wet soil may also require additional compaction before pouring the foundation. Inspect trench walls for collapse risk after heavy rain.
Equipment failure: Hydraulic leaks, cracked bucket teeth, or track issues can halt excavation. Perform daily inspections, check hydraulic lines, tracks, and moving parts daily to prevent breakdowns. Maintain fluid levels, keep fuel, hydraulic fluid, and engine oil at proper levels. Operating with low fluid can cause mechanical failure and reduce machine life. And replace worn components promptly to ensure smooth operation and maintain digging efficiency.
Visibility and operator error: Poor visibility can cause misjudged depth or alignment. Use laser levels, string lines, or spotters to guide excavation. Clear communication and regular checks reduce errors.
Depth and reach restrictions: Ensure the machine's reach exceeds the frost line. Over-extending the boom reduces breakout force and increases tipping risk. A 5-ton mini excavator typically reaches 10–12 feet, providing sufficient margin for most residential frost line requirements. Using undersized equipment can create delays that outweigh initial savings.
After completing foundation excavation with a mini excavator, proper post-excavation steps ensure site readiness, foundation stability, and safety.
Checking depth and dimensions: Recheck the foundation's depth and width at multiple points to ensure compliance with building plans. Correct any deviations immediately to prevent structural problems.
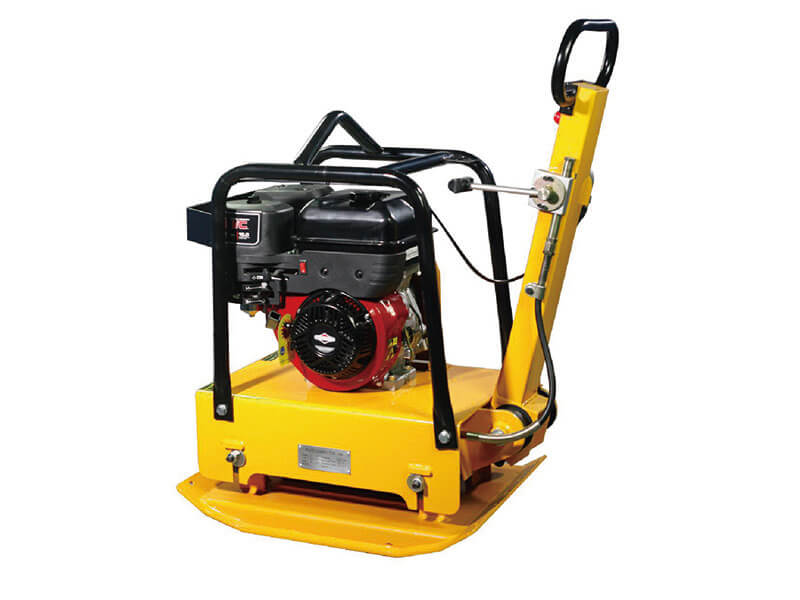
Soil compaction: Compact the soil at the foundation base using a hand tamper, plate compactor, or mini compactor, depending on site size. Proper compaction provides a stable base for pouring concrete.
Remove excess soil and debris: Manage excavated soil and debris appropriately. Reuse suitable soil for landscaping or fill, and dispose of excess responsibly to maintain a clean and safe work environment.
Inspect for loose or unstable soil: Check excavation sides for loose or unstable soil that could collapse during concrete pouring or construction, reducing safety hazards and protecting workers.
Verify drainage: Ensure the foundation base has adequate drainage. Address potential waterlogging or erosion with gravel or temporary channels before pouring concrete.
Formwork preparation: Set up and secure formwork correctly to maintain the foundation's shape. Proper formwork keeps concrete within required dimensions and minimizes later corrections.
Checking utility access: Verify that plumbing, electrical, and drainage lines are correctly laid and accessible before pouring the foundation to prevent costly adjustments later.
Cleaning after use: Remove dirt and debris from the bucket and undercarriage after each session to prevent rust, wear, and unnecessary stress on components.
Ensuring safety during foundation excavation with a mini excavator protects operators, bystanders, and the site while maintaining compliance with regulations.
Operator safety: Operators should wear appropriate personal protective equipment (PPE), including hard hats, high-visibility vests, steel-toed boots, and gloves. Schedule breaks every 90 minutes to prevent fatigue. Proper training and practice in non-critical areas are essential, as skill is required to dig a structurally sound foundation. Ergonomic controls help, but operator experience cannot be replaced by machine quality.
Site safety: A competent person must evaluate the soil and determine excavation strategy. Never enter an unprotected trench. Study the machine's load chart, as lift capacity decreases significantly with full boom extension or swing.
Keep the machine at least 2 feet from the edge, with tracks perpendicular to the excavation.
Maintain 10 feet of clearance from power lines and use a spotter for blind spots.
Keep bystanders at a safe distance and mark the work area clearly.
Emergency preparedness: Have a clear emergency plan, including first-aid kits and communication equipment. Operators should know how to shut down the machine immediately in case of hazards or accidents.
Mini excavators are highly efficient for digging small to medium-sized foundations. With proper site assessment, machine selection, excavation techniques, and safety measures, they can reduce labor, save time, and improve accuracy. Careful planning and maintenance allow even DIY enthusiasts to achieve professional-quality results.
The foundation shapes every structure built above it. Getting the excavation phase right is critical for long-term quality. Properly matching machine size, attachments, and techniques to the project ensures reliable performance and efficiency.
inquiry form here
BISON BLOG, All the latest news and views from Bison Machinery.
what's hot?
Related Articles
mini excavator sizes: choosing the right size for your project how to change the bucket of a mini excavator large excavators vs mini excavators what equipment do you use for demolition? common questions about excavator hydraulic systemsRelated Products