28Feb 2024
table of contents

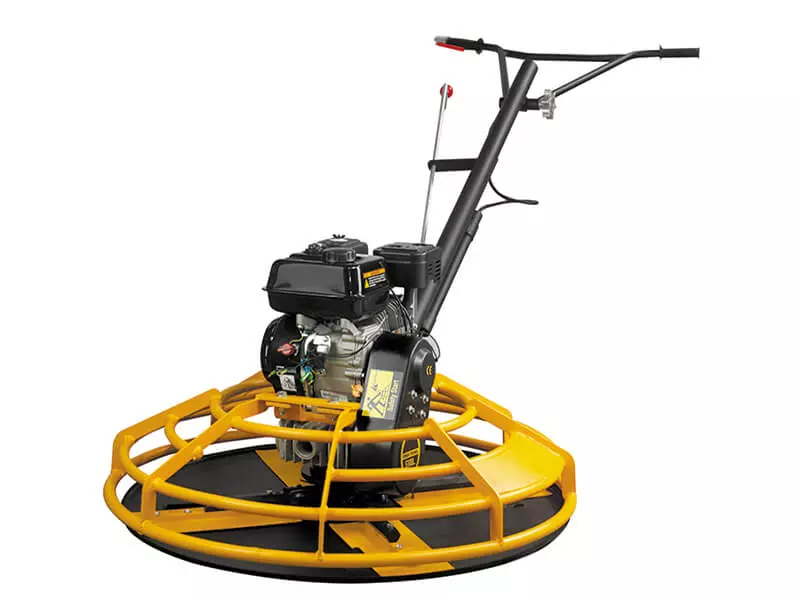
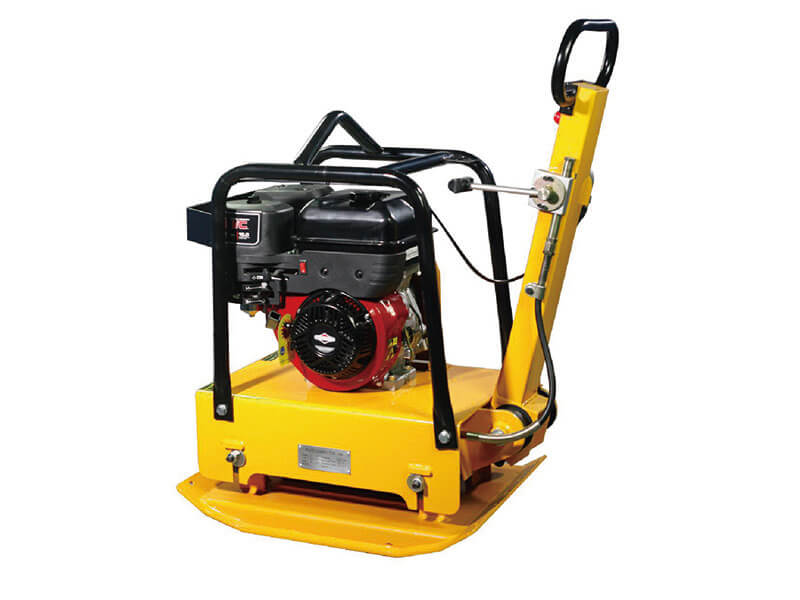
Concrete power float is the newest polishing device for uneven and beautiful concrete surfaces. It can significantly increase the concrete surface's compactness and wear resistance while smoothing the construction surface. It can improve work efficiency dozens of times compared to manual work. This machine is widely used in concrete pavements, airport floors, etc. This post will teach you all about power float, including when and how to use it.
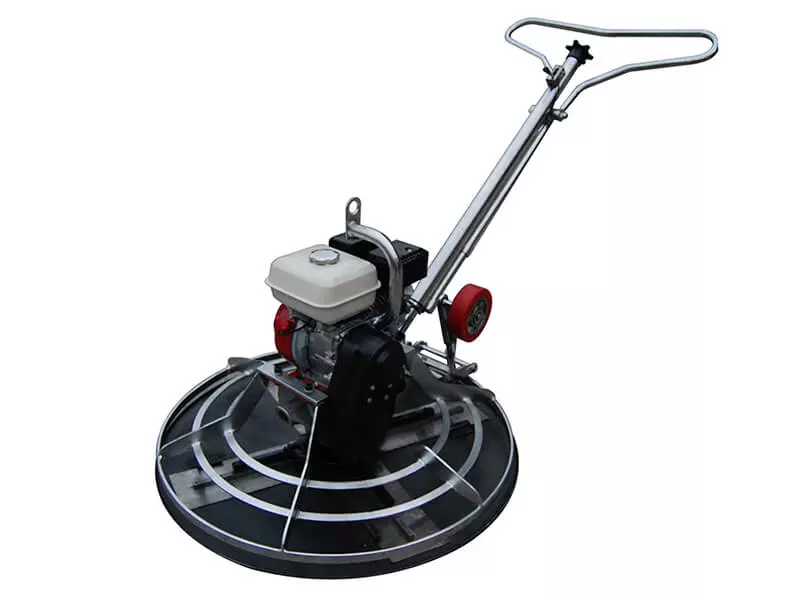
Concrete power trowel, concrete chopper machine, and concrete chopper machine are other names for concrete power float. It is one of most common concrete floor machines that apply a smooth finish to concrete. There are two types of power float machines: ride-on type and walk-back type.
For small surface areas, a manual float can be used.
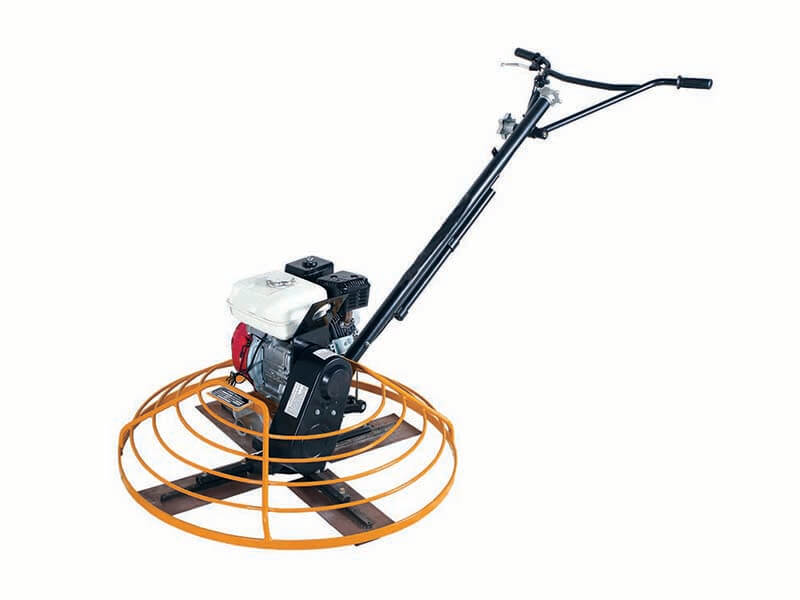
Walk behind power float or ride-on power float is also better for larger areas because they are faster and more efficient.
Power floats are relatively easy to use but require training and practice to maximize efficiency.
An ideal smooth and uniform surface can be achieved by treating freshly poured concrete before it dries.
Make sure your watering is scheduled for a rain-free day. The concrete mixture will start to dry after it is poured.
It's crucial to hold off on starting your float machine until the appropriate moment. Typically taking 4-6 hours, starting too early may damage the concrete surface, while starting too late will mean a more difficult job and a less polished surface.
When the operator can stand on the surface, leave a footprint that is between 1/8 and 1/4 of an inch deep, and walk firmly on it so that your boot does not stick to the top layer, it's a helpful indication that the concrete float machine is ready for use.
Ensure that the machine is free of any loose packaging materials.
Inspect the apparatus and all of its parts for any damage. Run the machine away if there is evident damage! For assistance, get in touch with the dealer right now.
Make a list of everything that comes with the machine, and ensure that all the fasteners and loose parts are there.
Add fluids (such as gasoline, engine oil, and battery acid) as required and appropriate.
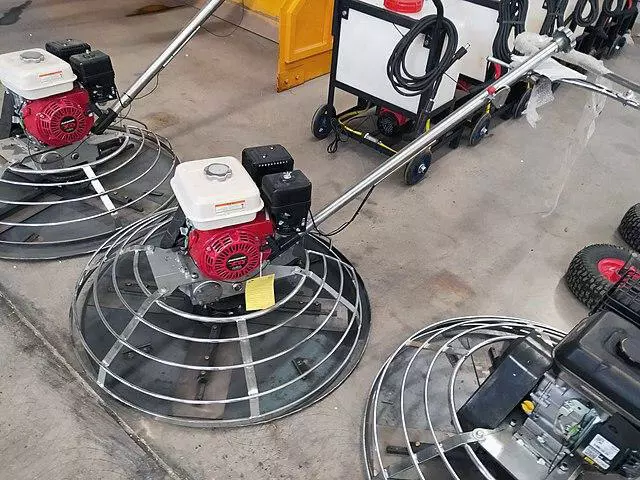
There are three kinds of machine blades available.
Combination blade. These are the simplest options, but are slightly more expensive. These design allows you to use same blade for both flotation and finishing. For floating concrete stages, you can leave the combination blade flat.
Clip-on floating blade. First, you need to bolt the trimming blade onto the trowel. Then, slide the floating blade onto the finishing blade and clamp the floating blade onto it. Their blades are slightly heavier than combination blades and leave the concrete surface open so it doesn't seal prematurely.
Floating plate. For this option, you will also need to install a finishing blade. Then place pan on concrete, place machine on top of pan and slide the blade into fixture provided.
Check these things before turning on the machine:
Every handle is dirt, grease, and oil-free.
All control levers occupy the neutral position. Every bolted joint is inflexible.
Fuel level
Oil level in engine oil level in the gearbox
Maintenance of air cleaner in ring guard detector condition
Condition of trowel arms and blades
Note: Check engine and machine oil levels before starting. Warranties are void if the machine runs without oil.
Pack the handle assembly and lower unit from the boxes. Check that there is no damage during shipment. Mount the handle assembly to the lower unit gearbox using nuts supplied in the package on the lower unit.
Pull the pitch control cable from the lower end of the tube and remove the cable nut from the cable. To change the pitch control handle, twist it or push the control knob forward, away from the operator. Whenever possible, rotate counterclockwise. Attach the cable to the yoke and tighten the cable nut until the float blade is flat (pitch of 0°) and the cable is tight.
Move the throttle to the idle position. Remove the air cleaner cover. Feed the cable through the clamp on the recoil cover. Connect the throttle cable to the engine throttle bracket by placing the Z-band into the throttle casing bracket through the hole in the throttle plate. Replace the air cleaner cover.
When using a machine with a handle that can be adjusted, loosen the knob and move the grip up or down to suit the operator. To lock the handle in place, tighten the knob.
This switch's switching mechanism should always be kept inside and run independently.
The engine should not start or run when the switch is OFF. This switch's function is to shut down the machine if the operator releases the handle while the machine is operating or is in a runaway scenario.
Knowing the location and function of all controls before starting concrete trolling is essential.
Verify that the stop position is selected on the safety stop switch. If not, stop using the lever before turning on the engine.
Open the fuel valve at the bottom of the fuel tank.
Note: If the engine is cold, move the choke lever to OFF. If the motor is warm, set the choke to the open position.
Turn the engine switch "ON."
Set the idle position of the throttle lever.
Pull the starter rope.
Warning: Do not place your foot on the ring guard when starting the engine; slipping your foot off the ring guard when the blades rotate can cause serious injury.
Open the choke when the engine is warm.
To begin operation of the power float, engage both open throttle and safety stop switch. Adjust the blade rpm to suit the conditions along with the throttle speed.
To navigate the power float, raising handle will shift power trowel toward operator's left, while pressing downward on handle will guide it to the right.
Remember: If you let the machine go wild, step back and let the power float stop before restoring the device.
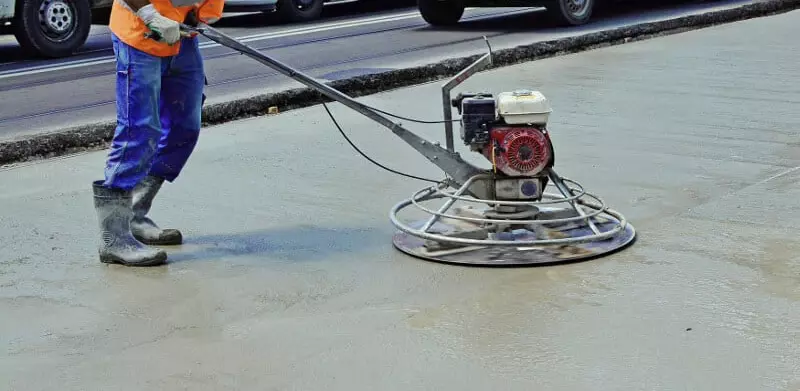
The best way to finish concrete is to stroll backward with the machine, guiding the floating machine from side to side, can effectively erase any imprints left on the fresh, wet concrete. A lot of patience is required to complete the float.
The best way to get used to power float is through repeated use.
By shifting the throttle lever to its idle setting, you can reduce the revolutions per minute of engine. Release the safety stop switch. Turn the engine switch to "OFF".
Adjusting the blade pitch (angle) by turning the pitch control knob. Turning the knob clockwise increases the pitch of the blade. Turning the knob counterclockwise flattens or decreases the pitch of the blade.
First pass: Keep the float blades flat to avoid digging into the concrete. You may see a milky, watery substance rising to the surface during this process, this is normal. The first pass should be done at half speed while floating on the water. Move the powered flotation devices back and forth over the area in rows, with each row slightly overlapping. The purpose of the first rinse is to remove imperfections and bring moisture to the surface to aid the smoothing process.
You then need to wait a few moments to allow the water from the first pass to evaporate and allow the concrete to harden further. You will then browse the area again. Each subsequent pass should be done at a faster rate to begin compacting and densifying the surface.
Final pass and polish: The final pass or polish should be done at full speed to obtain a finished surface. This produces a polished, smooth, wear-resistant surface finish.
Cleaning: After completing work on the power float, remove any accumulated debris and clean according to the manufacturer's instructions. Store the machine in a safe, dry place to prevent damage.
Remember, specifics may vary depending on the type of equipment and concrete mix you use, so be sure to check the manufacturer's instructions and guidelines and seek expert advice when in doubt.
.jpg)
There are many advantages to finishing power float concrete, starting with the process eliminating the need for more time and materials when applying power float screed. Utilizing a power float is less physically demanding and more time-efficient compared to a manual trowel. As a result, the completion of your flooring project can be expedited, making it ready for utilization at an earlier time.
Because the process involved in setting a power float finish re-compacts the concrete, any cracking due to the mixture drying too quickly will be resealed, making it less likely to crack in the future. Power floating significantly minimizes dust, creating a dense and smooth finish, yielding an appealing polish. Such aesthetically pleasing and professional-looking finishes can suitably blend into a diverse range of work environments.
The high durability and compact nature of power-floated concrete floors allow them to effortlessly bear the load of heavy machinery and vehicles, making them an ideal choice for environments exposed to substantial weight or wear. Their smooth surfaces also mean they are waterproof and easy to clean, making them perfect for industrial buildings.
Since they are easy to maintain, process, and aesthetically pleasing in various areas, there are few places where power-floated concrete flooring will not benefit. However, because they are waterproof and strong enough to hold the weight of heavy machinery at CFS, we highly recommend them for settings such as factories, garages, and warehouses.
Operating a power float by yourself is possible, but it can cause problems if you are inexperienced. When setting a power float finish, specifications can vary depending on air temperature and humidity, the materials used in the concrete mix, and a number of other factors. It's also possible to misjudge when the floating process should start - if your floor is too wet when the process begins, the machine will tear up the floor, and if it's too dry, it will effectively remove high spots. Will not trim or fill the bottom.
Therefore, it is recommended to call a professional power float concrete contractor to ensure that you get the desired finish for your business.
A smooth finish also means that a concrete floor is less prone to cracking in the future. A concrete floor with a power float finish creates a dense and highly compacted surface, eliminating dust, often a problem with unfinished concrete floors.
power float, otherwise referred to as power trowel, is a fundamental tool utilized to render a slick finish to a concrete. This versatile machinery comes in two distinct formats: one that is ride-on and another that is walk-behind, catering to different operational needs.
Your surface is ready to float when your footprint is ¼" deep or a little less, and no more water is draining. If you find more water on the print or deeper than ½", wait a little longer and try this technique again. But remember, don't wait too long.
Using a power float effectively and efficiently requires understanding and skill. Once the concrete has been poured evenly and a safe work area has been secured, it's time to get it right. The concrete should be strong enough to support your weight without leaving footprints. Start by following the instructions for your specific device to initiate power float. The first pass is used to remove imperfections and bring moisture to the surface, and the process is done at half speed. Wait a moment for the water in the first pass to evaporate, then do more passes at an increasingly faster pace. The final full speed pass achieves a smooth and polished surface finish. Always remember to clean and store your equipment properly after use.
Now that you understand the process, it's obvious that using a quality power float is critical to getting the best results. BISON is a power float supplier known for its high quality, efficient and sturdy tools. BISON's power floats are designed to deliver superior performance, making them perfect for your concrete finishing needs.
If you would like to learn more about BISON power float and how they can help you achieve a professional-grade concrete surface, please contact us. Our team guides you in selecting the power float that best suits your needs. Let us help you get the best results with BISON power float.
inquiry form here
BISON BLOG, All the latest news and views from Bison Machinery.
what's hot?
Related Articles
Trowel machines: Introduction, types, working mechanism and buying guide how to achieve a professional finish with a power float power trowel manufacturer list what equipment do you need to pour a concrete sidewalk the complete guide to concrete helicopterRelated Products