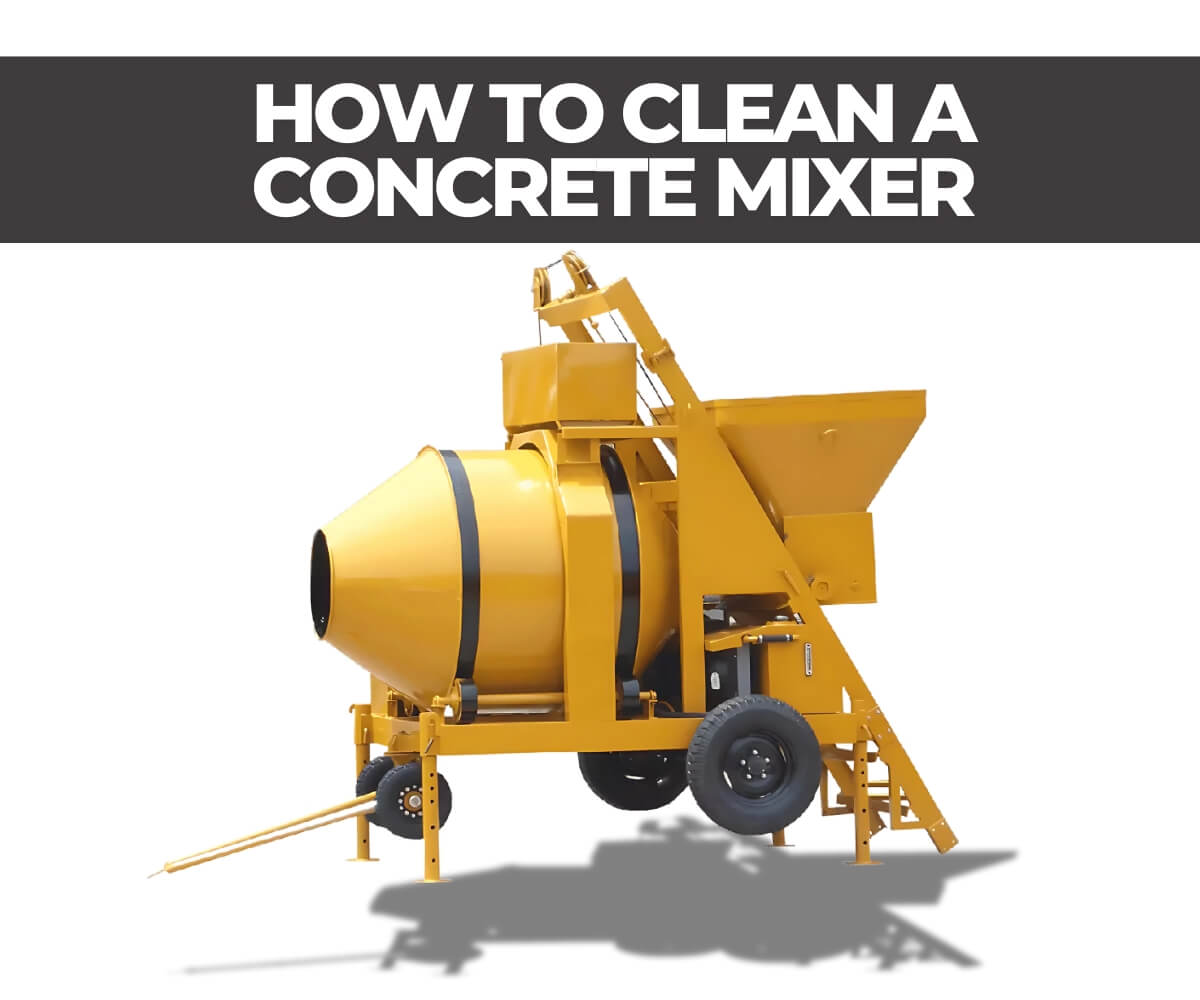
23Jun 2025
table of contents
A dirty concrete mixer can lead to uneven mixing, poor work quality, and even costly repairs—all of which can delay your project. Leftover concrete buildup reduces efficiency and shortens the equipment's lifespan. Regular cleaning keeps your mixer in top shape and ensures safety and quality on every job.
In this article, BISON will walk you through a simple, step-by-step guide to clean your concrete mixer effectively.
Whether you're working on a construction site, managing a concrete truck, or doing DIY projects at home, neglecting to clean your concrete mixer can lead to serious problems.
Prevents hardened concrete buildup: Concrete begins setting immediately after mixing. If not cleaned right away, it hardens inside the drum, reducing mixing space and interfering with paddles or blades. This not only affects consistency but also makes cleaning harder over time.
Ensures consistent mix quality: Leftover residue from previous batches can contaminate fresh concrete, leading to weak or uneven results—especially critical in structural applications where strength and consistency matter most.
Reduces wear on mechanical parts: Concrete is abrasive. Buildup inside the drum and around moving parts increases wear, stresses the motor, and can damage components like the lining and paddles.
Enhances safety during operation: Unbalanced drums from excess buildup can cause instability, tipping risks, or mechanical failure. A clean concrete mixer promotes safer handling and better control.
Extends equipment lifespan: Routine cleaning protects your investment. It helps avoid costly repairs, minimizes downtime, and keeps your concrete mixer running efficiently for years.
Keeping your concrete mixer clean isn't just about how often—it's about when. Cleaning at the right times ensures easier maintenance and prevents stubborn buildup.
Immediately after use: The most important time to clean your concrete mixer machine is right after every use. Concrete sets quickly, and even short delays make removal harder. Rinse the drum, paddles, and internal parts while the mix is still wet to prevent buildup and reduce labor.
During extended breaks: If there's a pause between pours or while waiting for materials, rinse the drum lightly to keep it damp. This helps prevent the mix from setting inside the drum during idle periods.
At the end of the workday: Even if you've been rinsing throughout the day, a full cleaning before shutdown ensures no material is left behind. It's also a good time to inspect the concrete mixer for signs of wear or damage.
After transporting concrete: If your concrete mixer was used for delivery, clean external parts like the chute, wheels, and panels. Fresh spills harden quickly, so it's best to wash them off immediately to maintain appearance and performance.
Cleaning a concrete mixer effectively requires the right tools and materials. Using proper equipment not only saves time but also protects the concrete mixer's components from unnecessary wear or damage. Whether it's a quick rinse or a deep clean, having these items ready will ensure a smoother process.
Always prioritize safety. Concrete, cleaning agents, and flying debris can cause irritation or injury. Recommended gear includes:
Safety goggles or face shield
Rubber gloves
Dust mask or respirator (for dry methods)
Waterproof apron or old work clothes
Steel-toe shoes with non-slip soles
Fresh concrete residue can usually be removed with water. A garden hose works for basic rinsing, while a pressure washer (2000+ PSI recommended) is more effective for heavy-duty cleaning.
For stubborn patches, use:
Long-handled brush with firm bristles
Wire brush
Putty knife or other abrasives
These help dislodge dried concrete from hard-to-reach areas without damaging the drum.
To deal with hardened buildup, gently tap thick deposits using a hammer or mallet. Use caution to avoid damaging internal surfaces.
Add a mix of coarse sand, gravel, and water to the drum and run the concrete mixer. The abrasive action helps scrub the interior clean without manual effort.
For very stubborn buildup, use a concrete-safe cleaner to help dissolve hardened material. Always follow the manufacturer's instructions and wear PPE when handling chemicals.
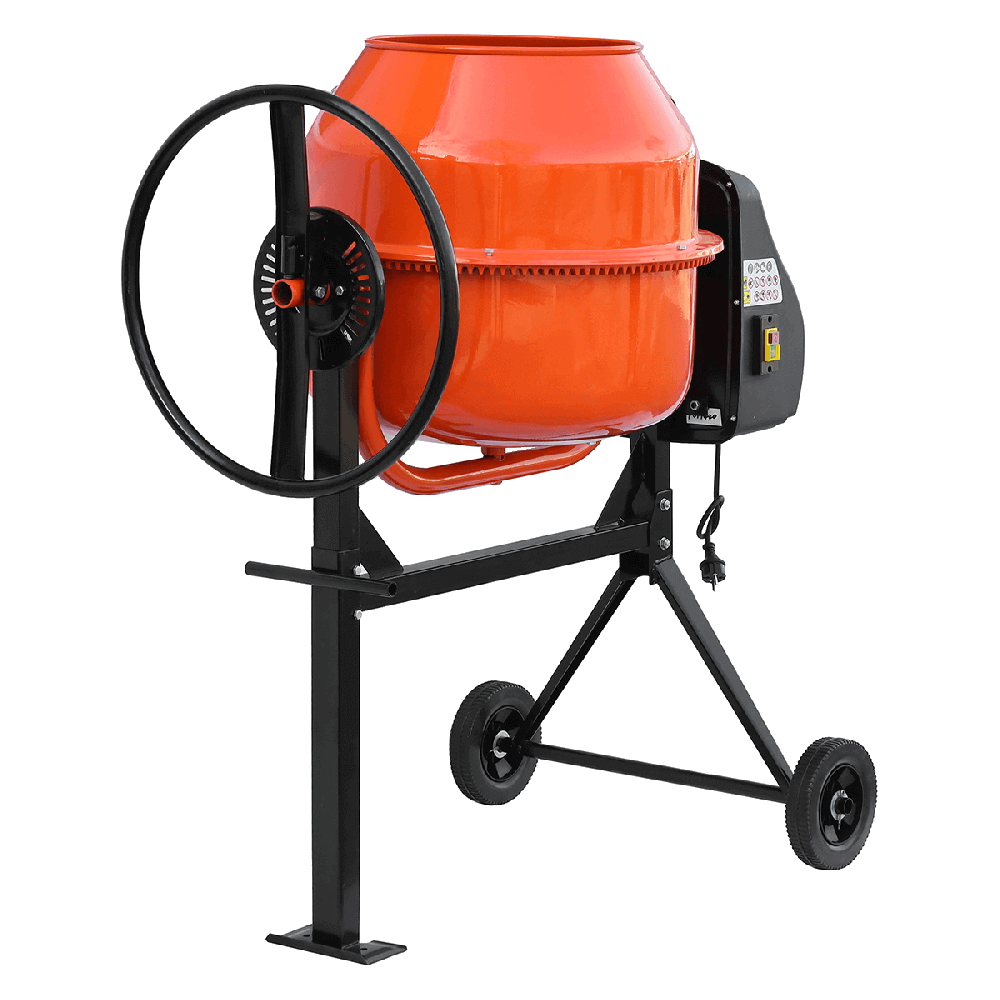
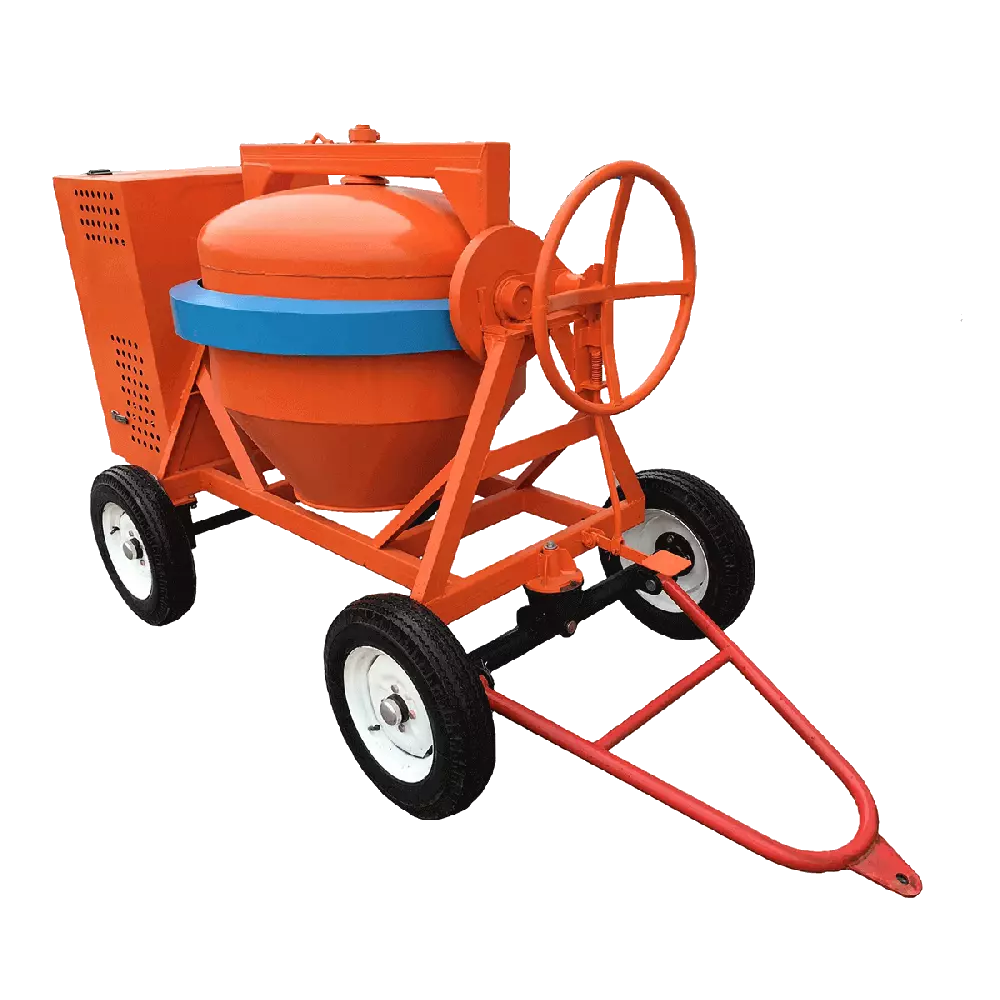
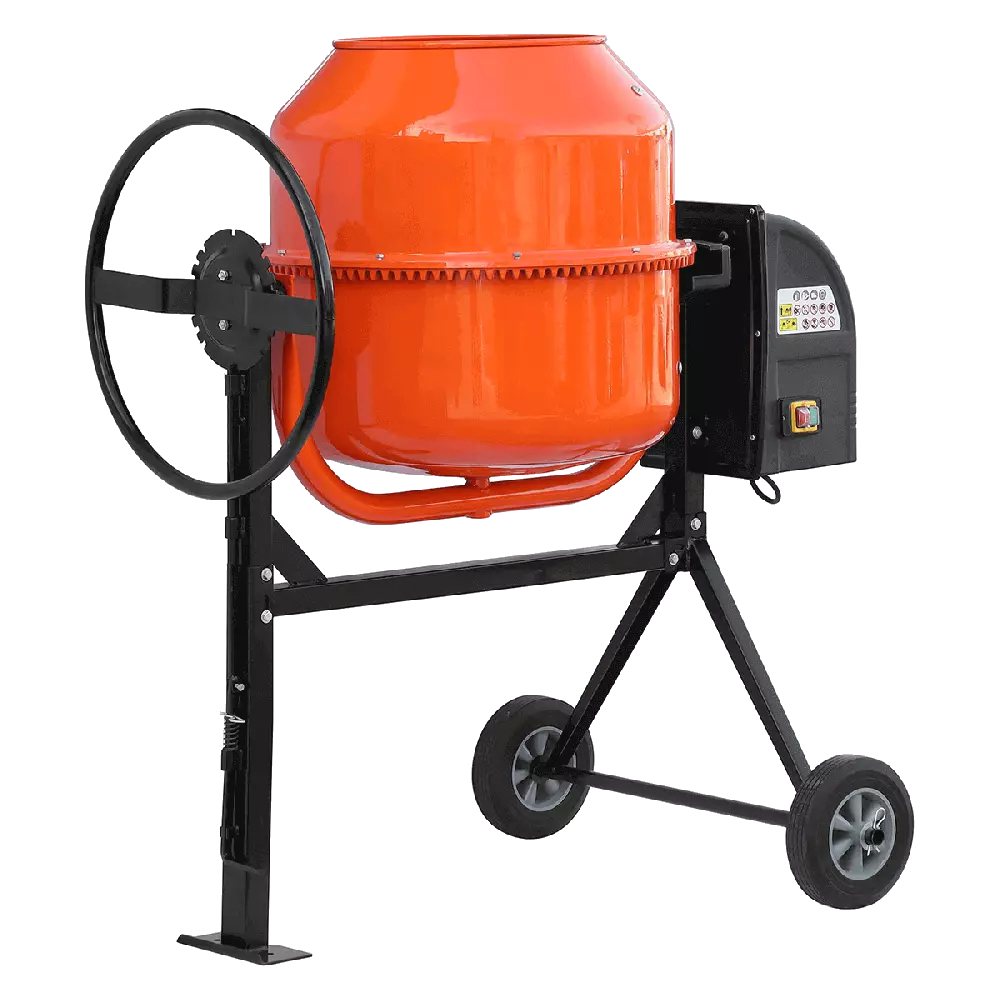
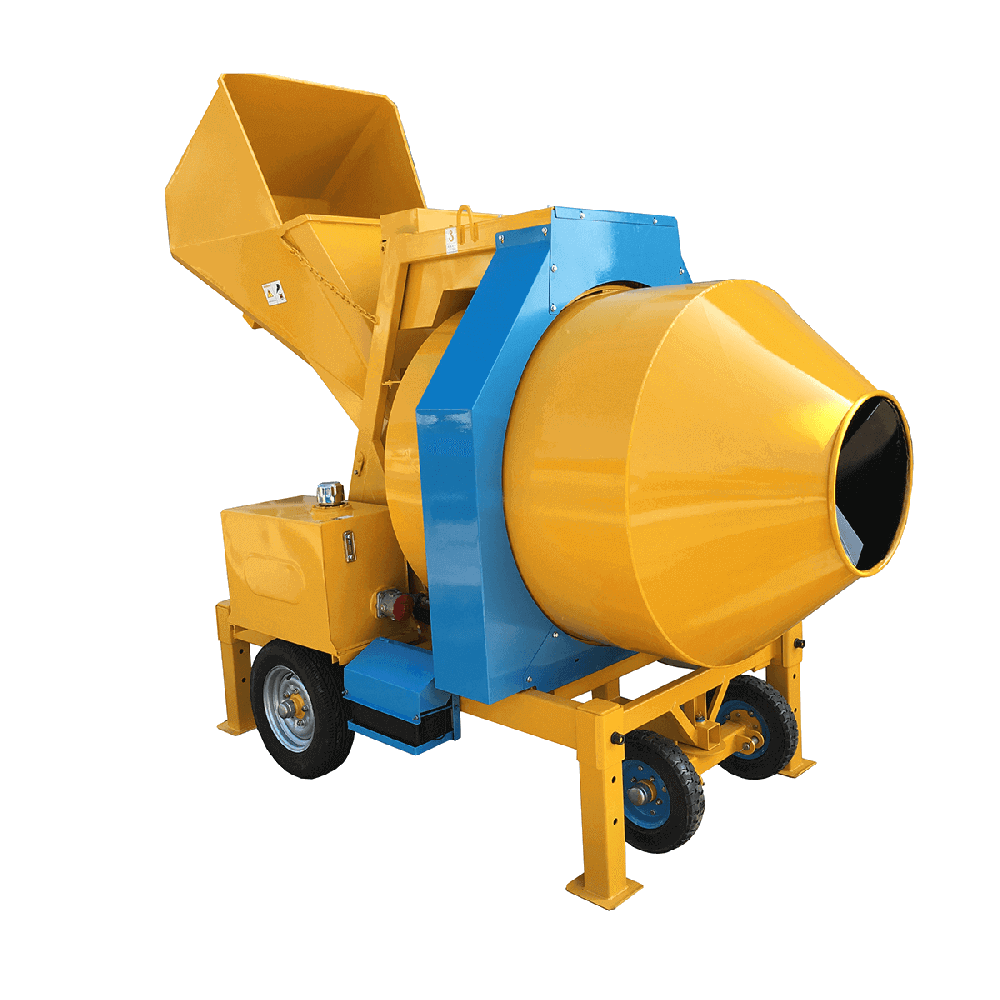
Concrete mixer cleaning can seem like a hassle, but following a systematic process makes it easier, more efficient, and safer. Whether it's a portable concrete mixer or a truck-mounted drum, these steps will help ensure a thorough clean every time.
Before you begin, wear the necessary protective gear. Make sure the concrete mixer is turned off and disconnected from any power or fuel source. Work in a well-ventilated area, preferably outdoors, for easier cleanup.
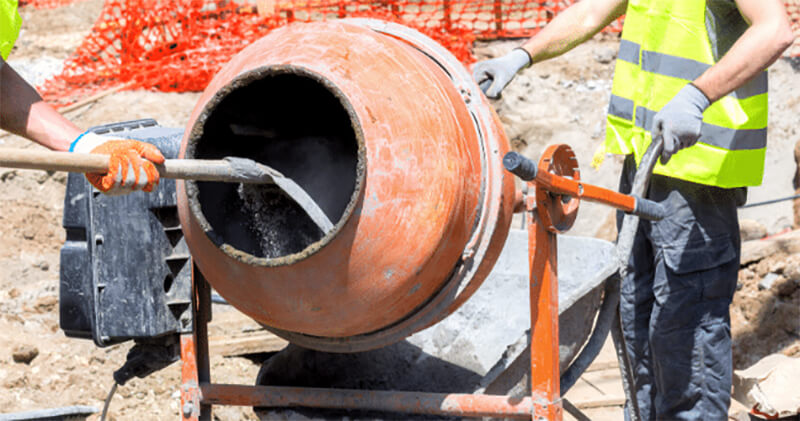
Immediately after use, tilt the drum and pour out any remaining wet concrete. Use a shovel or trowel to scrape out as much material as possible before it begins to harden.
Add 2–4 gallons of water to the drum, adjusting based on the concrete mixer's size. For a deeper clean, include a few shovelfuls of gravel or coarse sand. These abrasives help scrub the interior surfaces as the drum turns.
Turn on the concrete mixer and let it run for 5–10 minutes. The motion will loosen any stuck concrete inside the drum. Brown or cloudy water indicates the residue is being broken down effectively.
Turn off the concrete mixer and drain the dirty water and abrasive mix. Use a hose or pressure washer to rinse the drum thoroughly, spraying from multiple angles to reach all interior surfaces.
If some concrete remains, use a long-handled scrub brush, wire brush, or rubber mallet to clean stubborn spots—especially around the paddles, drum edges, and hard-to-reach crevices. For very hardened residue, apply a mild, non-toxic concrete remover and let it sit before scrubbing and rinsing again.
Spray down the exterior, including the frame, wheels, handles, and chute. Remove any concrete splashes that could harden and interfere with moving parts or future operation.
While the concrete mixer is clean and empty, inspect it for cracks, rust, worn paddles, or damaged seals. This is a good opportunity to identify maintenance needs early.
Leave the drum open to air dry completely. If the concrete mixer won't be used again soon, drying it helps prevent rust or mold. You can lightly oil the drum to protect the metal. Ensure the machine is stable and secure before storing it.
Despite your best efforts, concrete will sometimes dry and harden inside the concrete mixer. This is more difficult but not impossible to fix. You can return your mixer to working order with the right approach and patience.
Start by checking how hard the concrete has hardened and where it is located. Light crusting on the drum walls is easy to remove, while thicker layers or buildup around the paddles will take more time and effort. Your ability to select the best cleaning technique will improve with your ability to evaluate the issue.
For moderate to heavy buildup:
Fill the drum with water and let it soak for a few hours or overnight. The moisture helps soften the concrete slightly, making it easier to break.
Use a rubber mallet, chisel, or light-duty hammer to gently knock out loose pieces. Avoid sharp-edged metal tools that can gouge or crack the drum.
Take your time. Excessive force can damage the equipment.
If you didn't get everything out the first time, repeat the gravel and water method:
Add several shovelfuls of coarse gravel, fill the drum with water (about halfway), and run the concrete mixer for 15-30 minutes.
The tumbling action works like a rock tumbler, slowly removing the dried concrete without damaging the interior.
This method is especially effective if the dried layer is not too thick.
For thick or stubborn layers, you may need to repeat the soaking, scrubbing, and dissolving combination over a few days. Persistence pays off. Once the drum is clean, rinse it thoroughly and let it air dry.
Cleaning a concrete mixer may seem like a chore, but it's a simple process that pays off significantly. It starts with proper preparation—disconnecting power and placing the mixer in a safe area—followed by removing leftover concrete, performing a clean with water, gravel, scrub brushes, or other correct tools etc, and finishing with a complete rinse.
Promptly cleaning after each use, can prevent concrete buildup, reduce wear, and extend the machine's lifespan. Investing a few extra minutes in cleaning can save you hours of frustration—and money—down the road.
Looking for a high-quality concrete mixer that's built for easy maintenance and long-term reliability? Choose our expertly engineered machines—trusted by professionals and backed by BISON reliable concrete mixer manufacturing company in China. Browse our range today and experience durability you can count on.
inquiry form here
BISON BLOG, All the latest news and views from Bison Machinery.
what's hot?

Related Articles
what equipment do you need to pour a concrete sidewalk mix concrete in a mixer how to clean a concrete mixerRelated Products